good sculpture starts with the right wood. It can't be too wet, and it must be in good health. It's best to let the wood cure, to control the moisture. Once the wood is ready, I rough-out the sculpture with chainsaws — large saws at first, smaller saws later.
From saws I move to sanders and rotary tools for detail work. I take pride in my art, and I'm not ashamed to say that the difference between a chainsaw carver and a wood sculptor is the tool left in the artist's hand when he's done. If it's a chainsaw, he's carving. If it's a Dremel, he's a sculptor.
The thumbnails and descriptions below will walk you through a large stump project. This is challenging work. The wood is still alive, and I need to take that into account to prevent splitting in the future. It also means I can't move the project around, but must instead move around it. Click on the thumbnails to see larger images.
Images 1–8
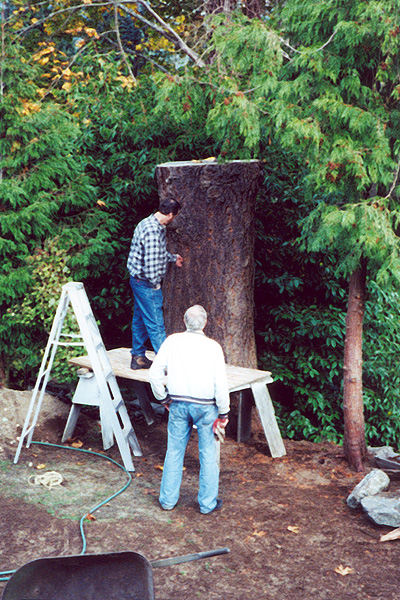
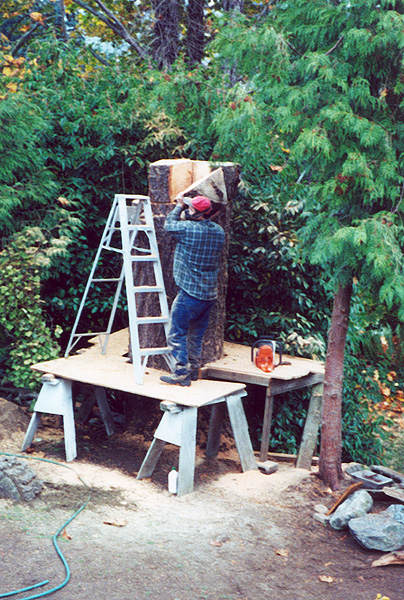
 | Each project begins with an examination of the wood. I need to know both its perfections and its imperfections. I need to determine where I'm going to place each element of my sculpture. It's not uncommon that I decide the details of the sculpture at this moment. |
|
 | I don't always begin with the big saw, but as you'll notice in the picture, I'm standing on a scaffold and the stump's still taller than I am. I needed to remove some blocks to make the top half of the project manageable. This requires care, and it's usually better to leave a bit more wood than I might want than to risk leaving too little. |
|
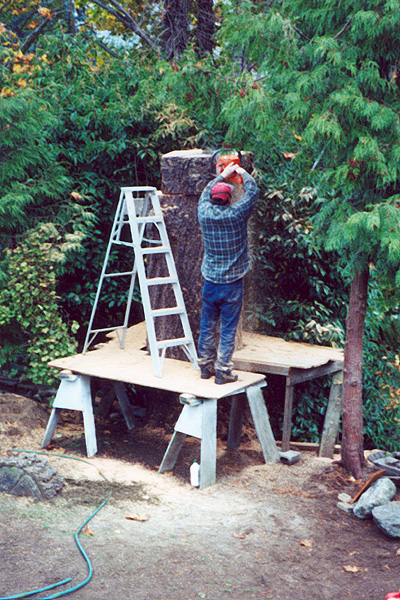
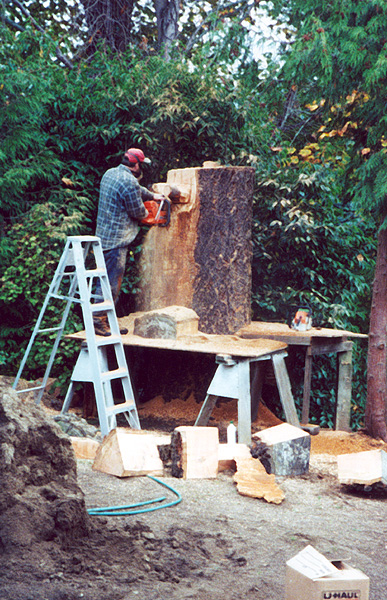
 | I can't recommend safety enough. Each of these blocks may only weight twenty pounds, but they're coming down on my head. As the sculpture takes form, the area around me quickly becomes littered with debris. It's good to take frequent breaks to move it aside. |
|
 | With two blocks removed I have space to stand on top of the stump and safely cut away the remaining blocks. |
|
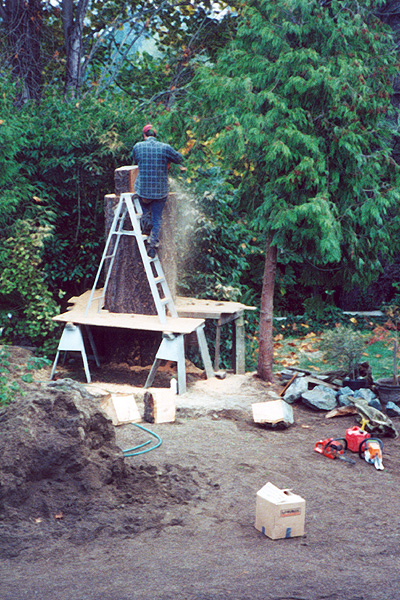
 | The section in front of me is actually the most delicate portion of the scultpure. It will be a branch holding a bee hive. To improve the aesthetics of the sculpture, I prefer to build branches around existing knot holes (the end of which will look like a severed branch on the finished product). However, knot holes are points of weakness in a tree. Cutting must be done carefully to avoid splitting and weakening in the future. |
|
 | Already you can see the sawdust building up around me. You might not think that sawdust is particularly dangerous, but it's deceptive. Especially when drawn from a live tree, moisture in the wood combined with the small, loose chips makes sawdust slippery and unstable. I'll be clearing buckets of the stuff away from the scaffolding throughout the project. |
|
 | It's no surprise that I need to take frequent stops to refill fuel and lubricating oil. Those saws will be going non-stop for two days. I hate to pick on safety once more, but do you see that long bark strip between my feet? It's actually a sheet of cut wood. I should have taken a moment to remove it before working on the saw. |
|
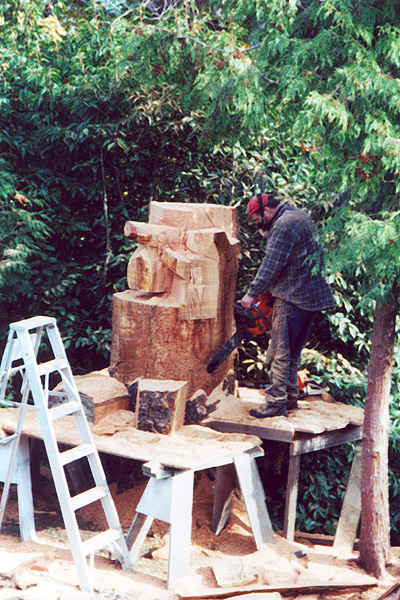
 | Back to work cutting blocks from the mid-section of the sculpture. You can see the branch and bee hive taking shape. I'll be working on the first of two bears next. |
|
Next