|
|
Images 17–24
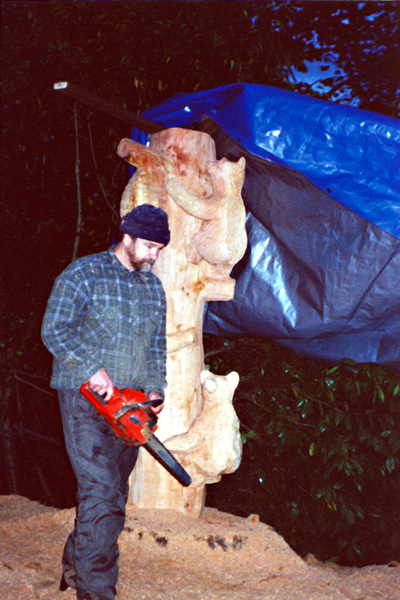
 | This picture jumps ahead to the end of the second day. The sculpture's rough-out is complete. I'm cleaning up for the evening and covering the sculpture withe tarp. |
|
 | The morning of the third day finds the property owner converting scrap wood into something useful — firewood. Wood sculpting leaves you with a large pile of wood, chips, and sawdust. |
|
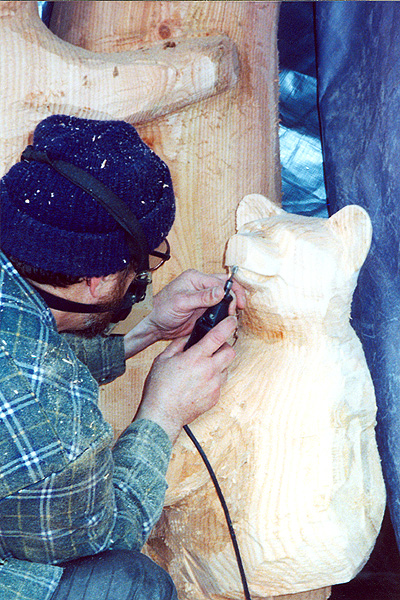
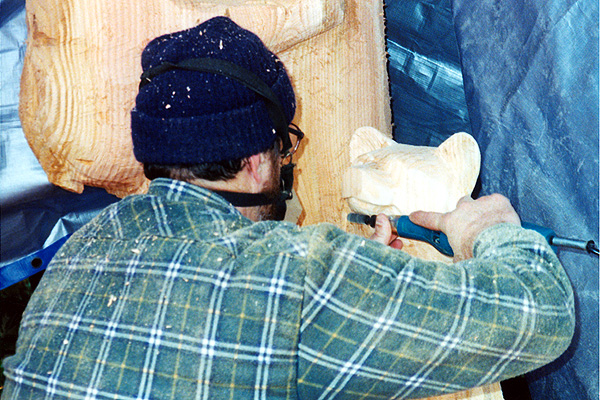
 | I've begun the detail work. I use a variety of sanders and Dremel tools. Wook sculpture like this requires a balance between protecting the feel and texture of the wood while providing detail for the scene. Shape is more important than smooth, so I focus on what real bears (and cougars, and bison...) look like. I'll even accomodate the small bulges in a bear's cheek to accomodate the canine teeth. |
|
 | Dremel bits range from large rasps to small engraving bits. Here I'm detailing the upper lip. Though not exactly to life, I do add a bit of a smile to my cubs. After all, cubs should be cuddly! |
|
 | Here I'm using the rasp bit to shape the lower jawline and neck. |
|
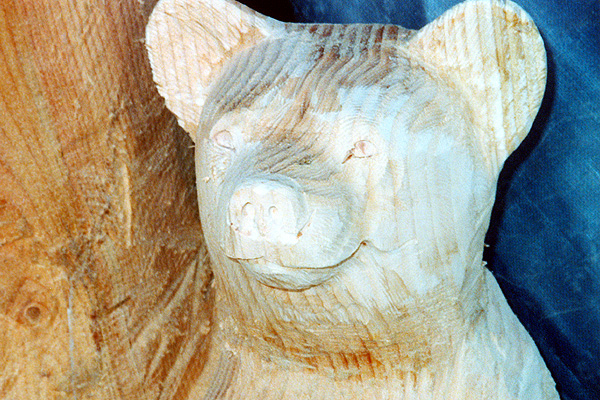
 | Here's the almost finished face. I've added the eyes, nostrils, lip cleft, and rear jaw lines. I still need to add lines that represent the fur. |
|
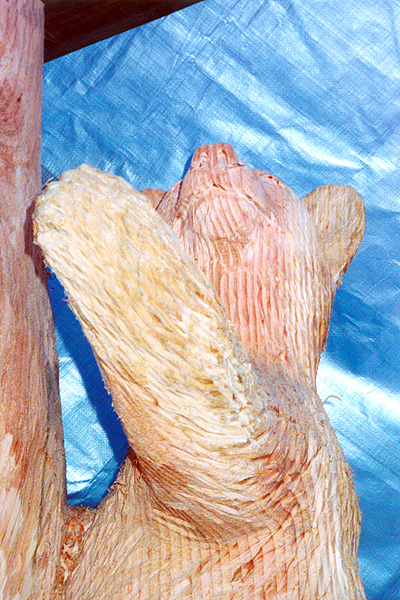
 | Here you can see the fur detail. I love sculpting other animals, but none are more suited to wood sculture than bears. Their fur is naturally coarse, allowing the combination of cuts, grain, and stain to perform an admirable job of simulating the real animal. |
|
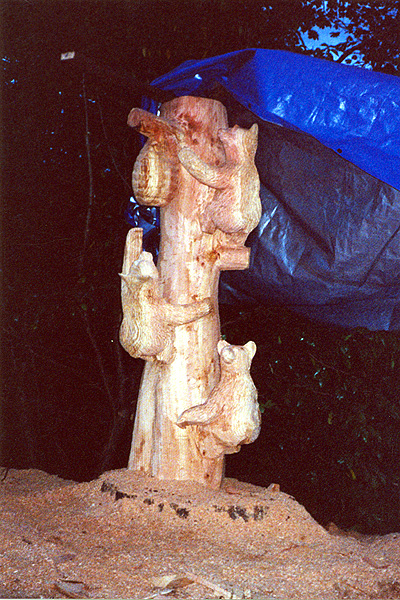
 | The sculpture is finally done, but as you can see, I ran out of daylight to apply the stain and varnish. Day four will see the finished job. |
|
Previous • Next
|
|